The Blog
How to Photograph Children
Most of us have photographed children, and those of you who have special kids in your life, probably have hundreds of photos of them. You love those memories. Maybe you took your nephew to a photo studio or contracted a photographer for an outdoors or indoors photo session. Still, you are not that happy with the results. Yes, the photos look nice but they lack that authentic look. Trendy poses and props. They are cute, but then you start seeing the same thing here and there. Besides, the images lack the child’s personality and they have that faked look. A child might look beautiful next to a high air miniature balloon prop in a park, but it still looks like a studio pose. And don’t get me wrong, some of those pictures are beautiful, but you have seen the same kind of pictures with other children and it becomes boring.
As a rule, I don’t shoot fake smiles and don’t use props, unless they belong to the child. I want to photograph what is real, what is authentic, what bursts with life. This is easy to do when you live with that child. Most children when faced with a stranger and a camera either run in the opposite direction, hide their faces, act unnatural, or give you that fake camera smile. But as a parent, a relative, or a friend, you have the advantage of sharing those authentic moments with them. They act natural, expressing their personality, and you can get those special moments yourself.
My daughter probably thought as a baby that those black objects hanging from my neck were part of my body. I took so many pictures of her with my old non digital Nikon cameras. Taking pictures in those days before the digital era required more effort, like carrying rolls and rolls of films of different ISO, besides having less control of the results unless we developed our films. Fortunately, there is now technology that allows me to convert paper photos into digital photos and edit them, given the vast majority of old photographs, negatives and slides suffer with time.
But before you work on a photo, you need the photo, you need that image that you had in mind. Sure, software like Photoshop can help you spark a photo you took. But Photoshop will not be able to freeze your child in action after the photo is taken, or change the angle from where you took the photo, or change the pose or location, or bring back that moment that was lost.
So, how do I get that outstanding photo? Do I need a special camera? No, you don’t need a special camera. There are so many digital cameras available today. Of course, some cameras give you the flexibility and advantage of changing the outcome of your work, like blurring the background or freezing the subject. But there are point and shoot cameras and tablets that can produce nice images. But yes, photography is an art and you have noticed that you have a friend that takes pictures the same day as you did, with almost the same camera, still her photographs are exciting and yours are just okay.
Here are some tips that you could take into consideration. But photography is not a science, it’s an art. Yes, learn as much as you can, but more importantly, take your camera and shoot, trying different techniques and different tips…Then correct what needs correction and keep on experimenting.
Tips For Shooting Children Photography:
-
SHOOTING TIPS
- Go Natural
Natural light is the best. You can go to parks, to the beach or out in the garden where children feel freer and act natural.
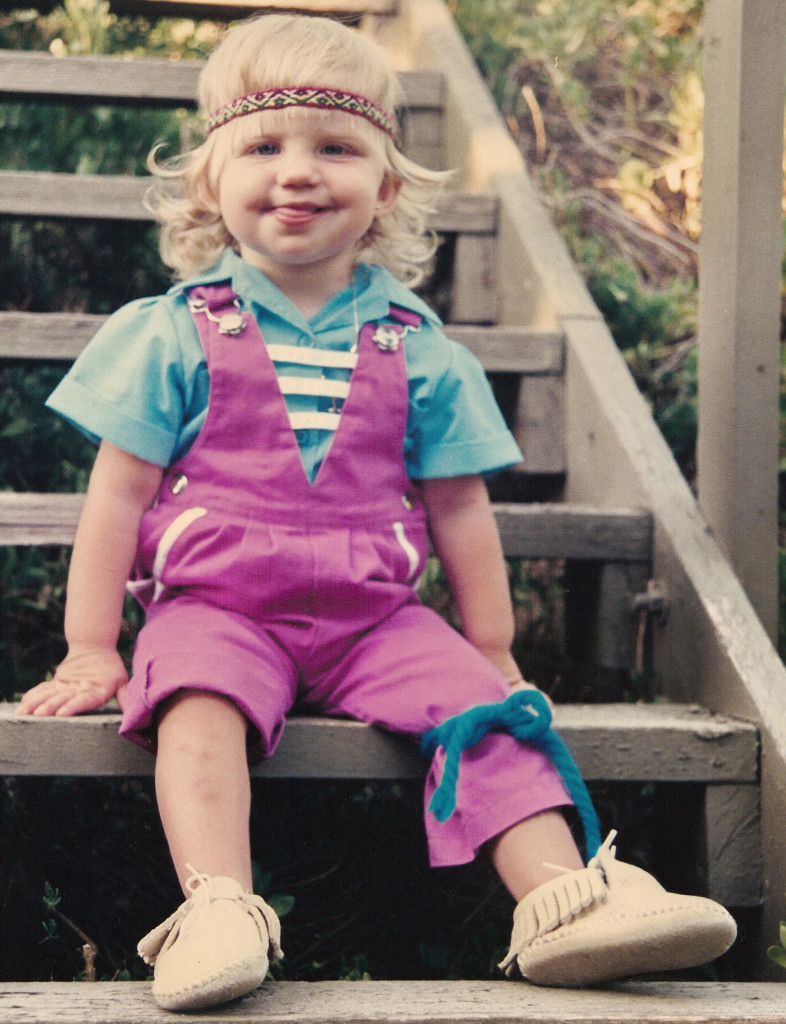
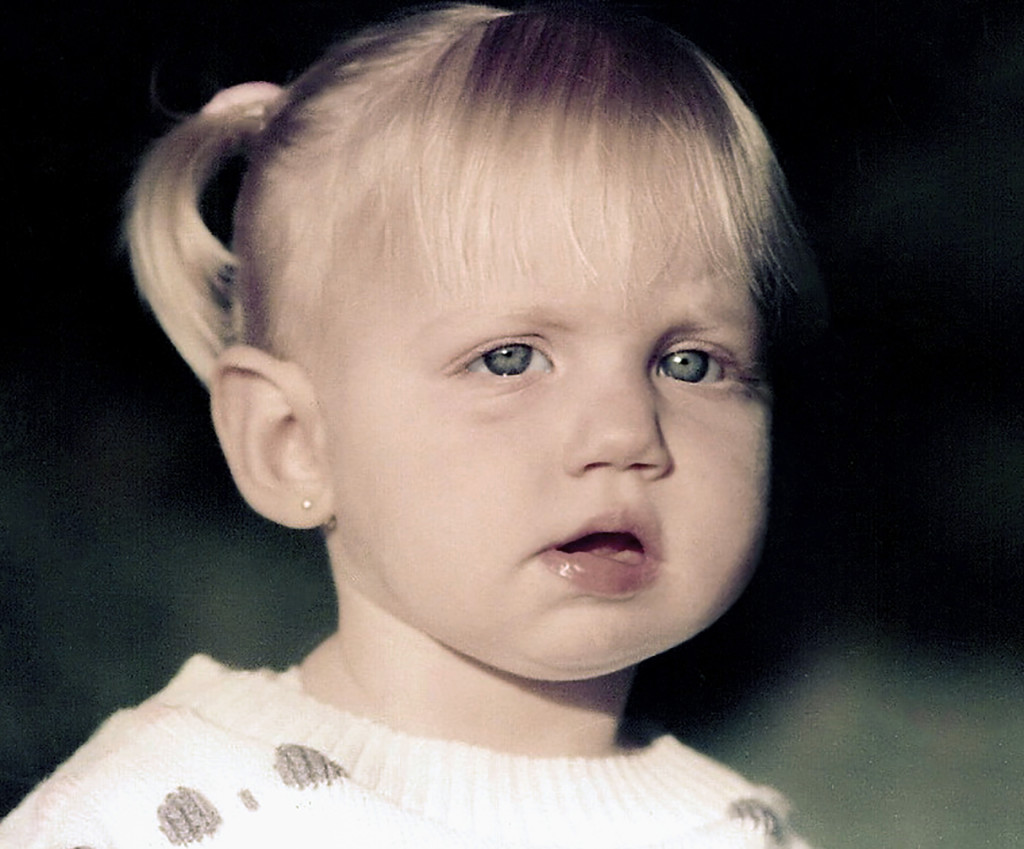
In this photo, my daughter sits and gives me a smile that probably would not have given anyone else. She is smiling with such purity, so relaxed, her tongue out, like she used to do, a real moment captured for ever.
- No More “Cheese” Photographs
Children will put their picture smile when they hear that word. Thus, unless you want that same fake smile, take that word out of your photography vocabulary.
- Shoot Candidly
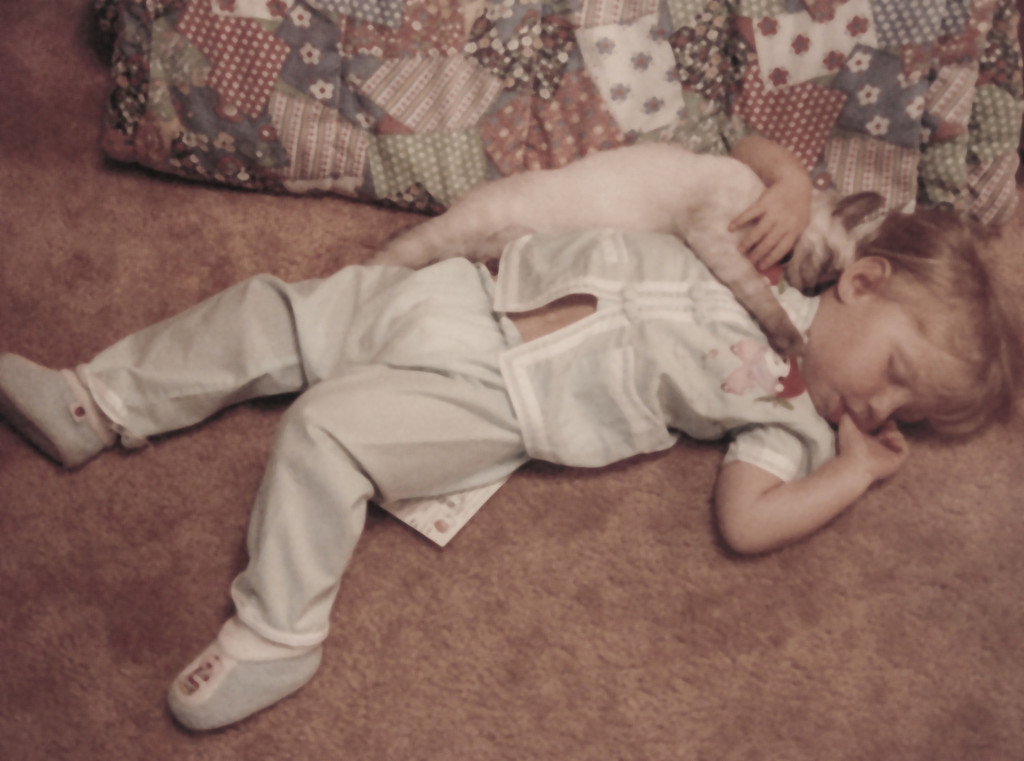
Get them doing something that they enjoy and start shooting. You might ask them to stop what they are doing to look at you. They’ll be more receptive when you try to get them to do something if you don’t spend the entire time asking them: “look over here”, “look over there”, “lay down”, “don’t smile”, “smile”, “sit up”. . . And remember, the child doesn’t have to be facing the camera in order for your image to spark. If it is your child, wait for those special moments like this one of my daughter falling asleep on the floor embracing her cat.
- Focus Upon the Eyes
Pay particular attention to your kids’ eyes when they are facing the camera. If you have the single zone focusing switched on, choose the eyes as the focus point. You can get away with a little fuzzy face, but the viewer of an image always is drawn to the eyes of the subject.
- Shoot from their level
Shooting from an adult’s perspective looking down on kids will leave you with average looking shots. Get on their level and you’ll get much more intimate shots. This being said, you can also try a couple of things against the rules. Take some pictures standing up or laying down. Remember, creativity is key. Try different angles. You are creating memories for years to come so the images should show who that child really is.
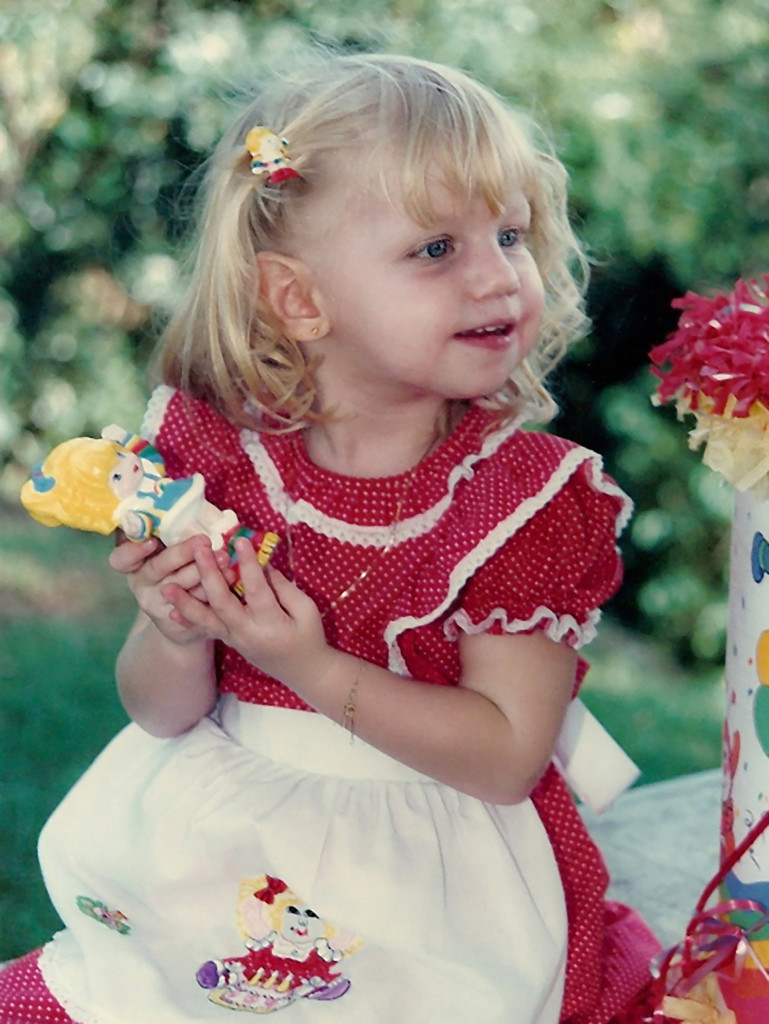
- Capture Their Innocence
- Backgrounds
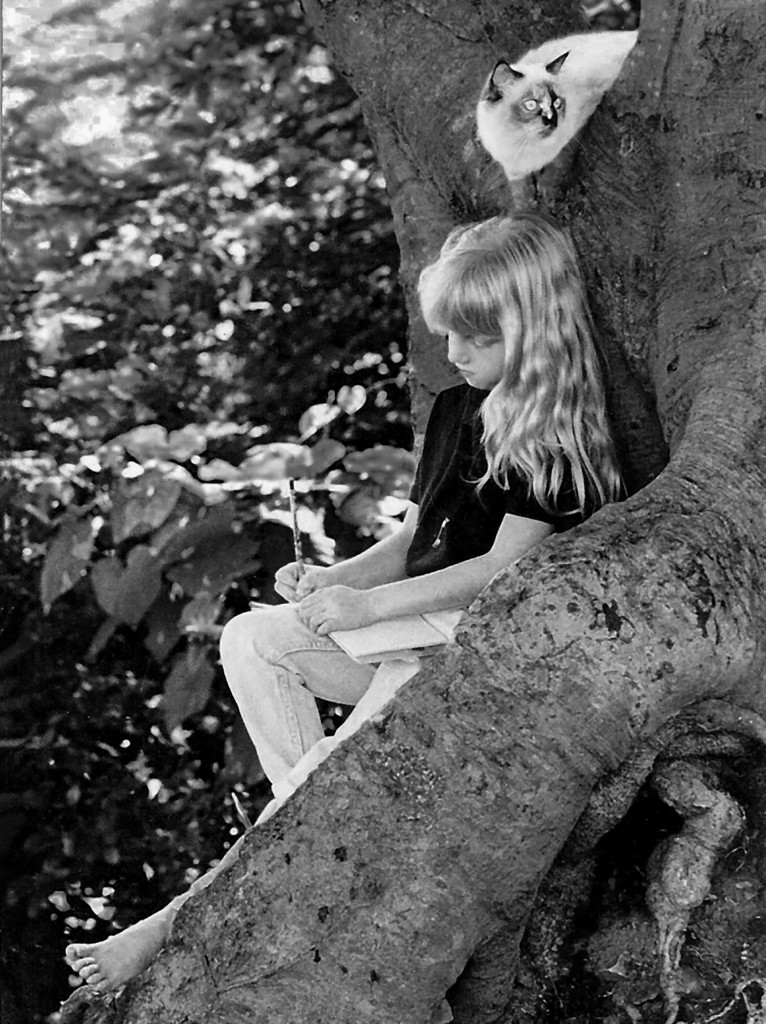
Select with attention the backgrounds of your shots. A background can give context to your shots but can also be a real distraction. Before you start shooting get rid of any distracting items. You want the child to be the center of attention, not the background. Still a proper background can add a lot to an image.The background of this photo establishes its mood, showing an introvert child who enjoys writing, her space, and her beloved cat. Still, she is the center of attention.
- Let the photo tell a story
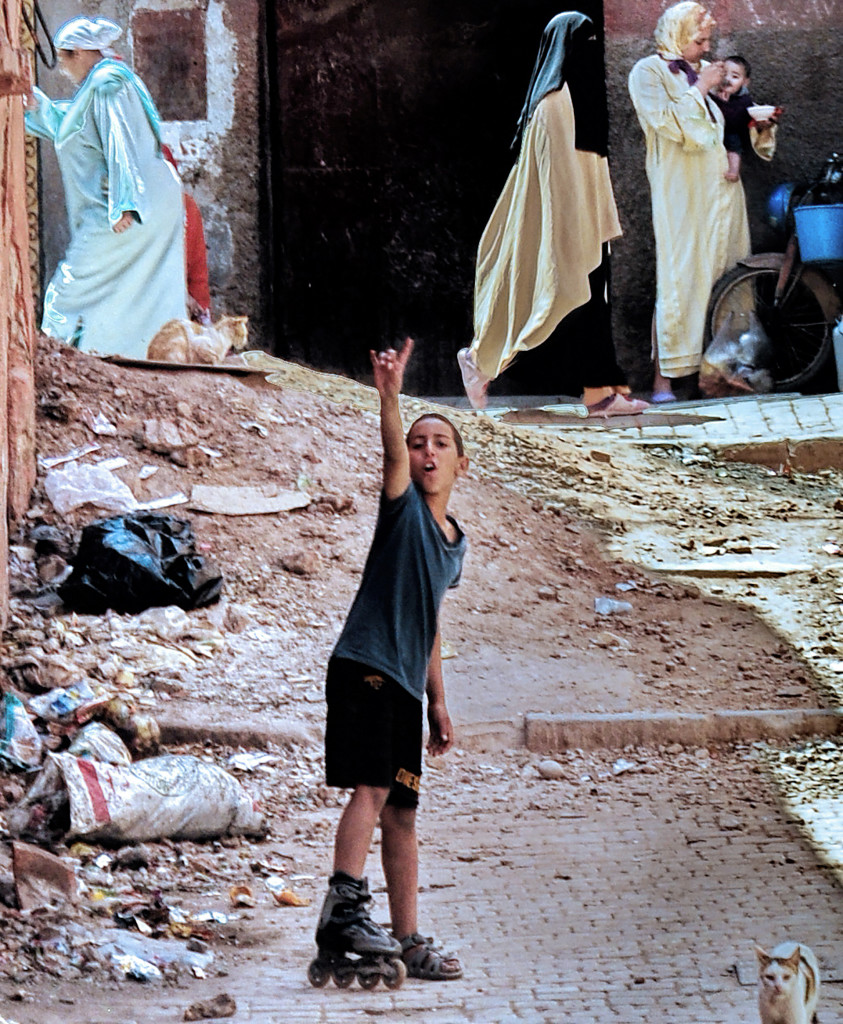
In this image, taken in Azrou, Morocco, I wanted to capture not only the child that smiled at me, happy with only one skate, but the women walking in the background, the mother feeding the baby, the accumulated garbage, and the cat staring at me. His surroundings give a special mood to the photo.
- Posing
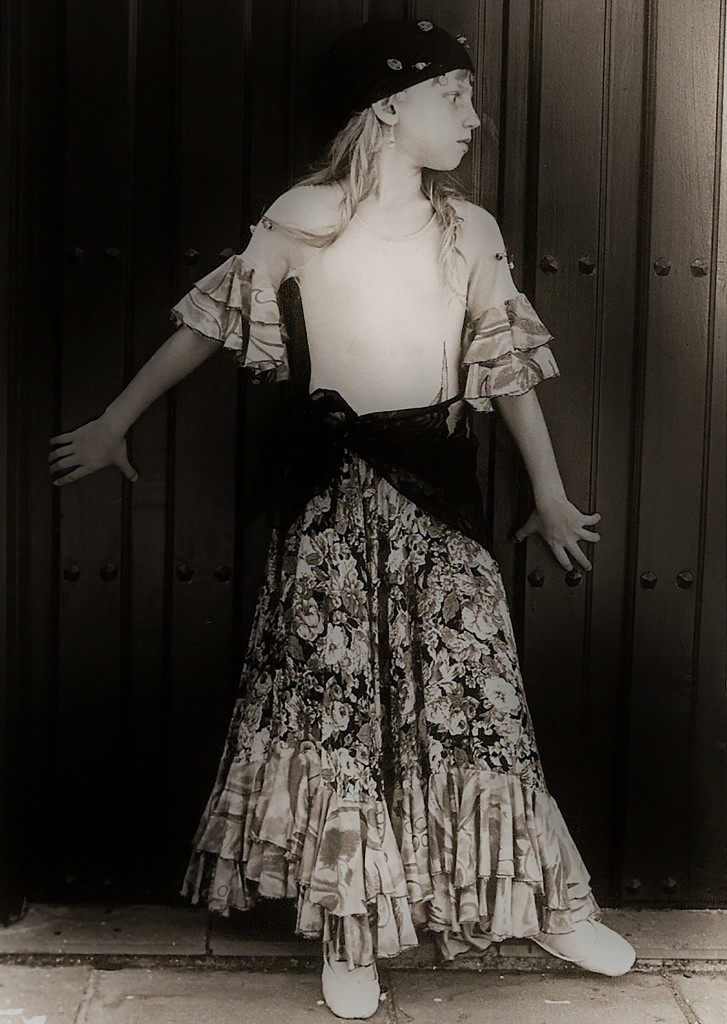
Older kids usually respond better to posing. Little kids don’t have the same patience and disposition for posing, unless you have gained their attention, and then again, they lose interest very quickly. Try to be creative and avoid the same cliche poses. Ask them how they like to pose as most times, their personality come out with their own poses. Still, some need some help. The pose should look natural, without a fake smile.
- Establish a relaxed environment
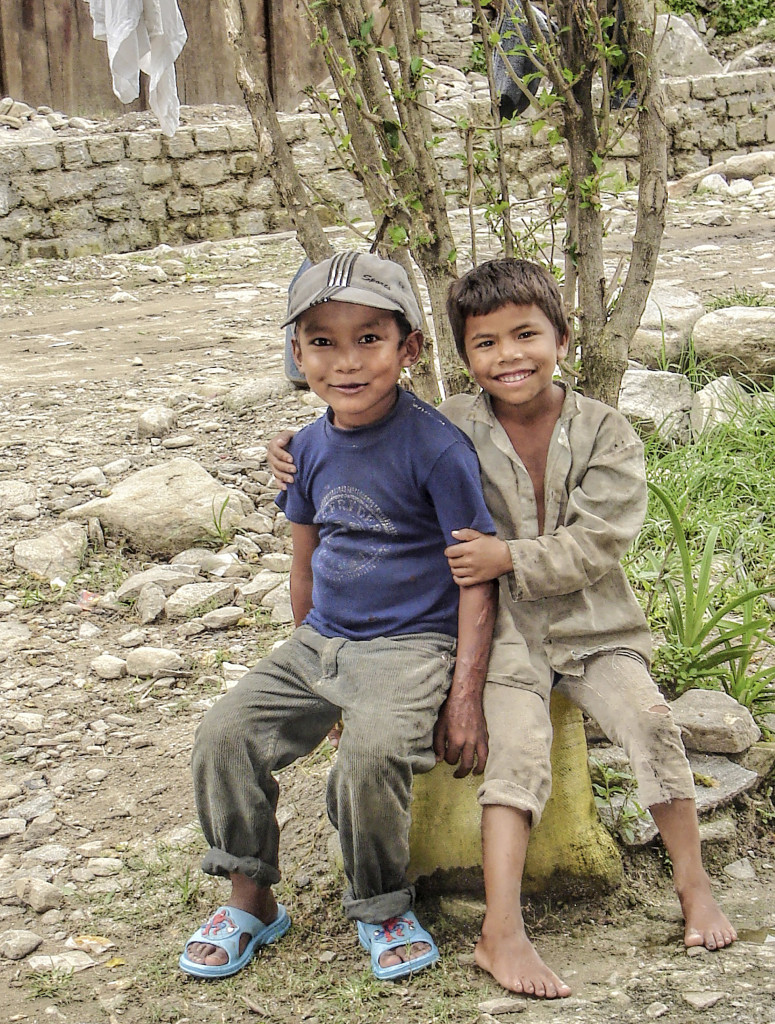
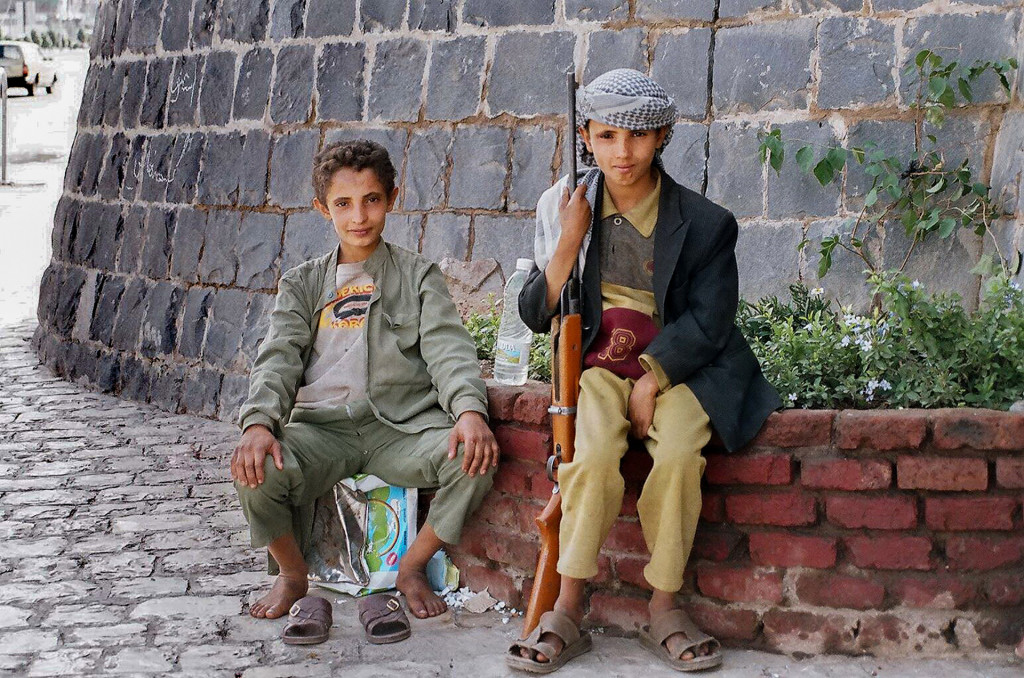
For natural-looking child photography you need to create a relaxed and casual environment in which children can be themselves and feel comfortable. Ask their parents about their tastes, talk and play with them so you can earn their trust and they don’t get frustrated with you pointing a camera in their faces asking them to do this or that. When taking photos of kids you don’t know, ask them in a friendly way so they feel relaxed and give you a natural look, like these Yemeni boys.
- Be patient and get used to their mood swings
Always remember that kids are kids. Sometimes they are overwhelmed with the fuss of the photoshoot, so be patient and allow them time if they don’t want to cooperate. Each child is different so try different ways to get their interest and trust. Rushing will get you nowhere. Remember that children might get very moody if they are tired of being photographed. They might want to do something different. See what other approaches you can take to cheer the child up.
- Capture the moment
Pay attention and have the camera ready for that expression that you want.
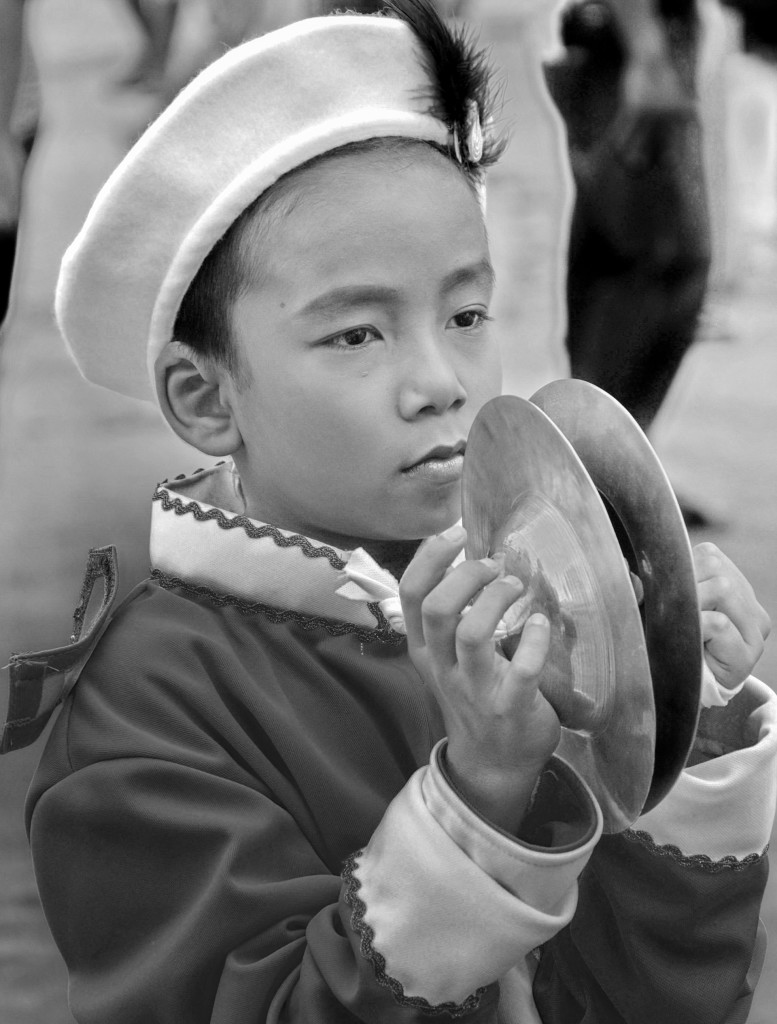
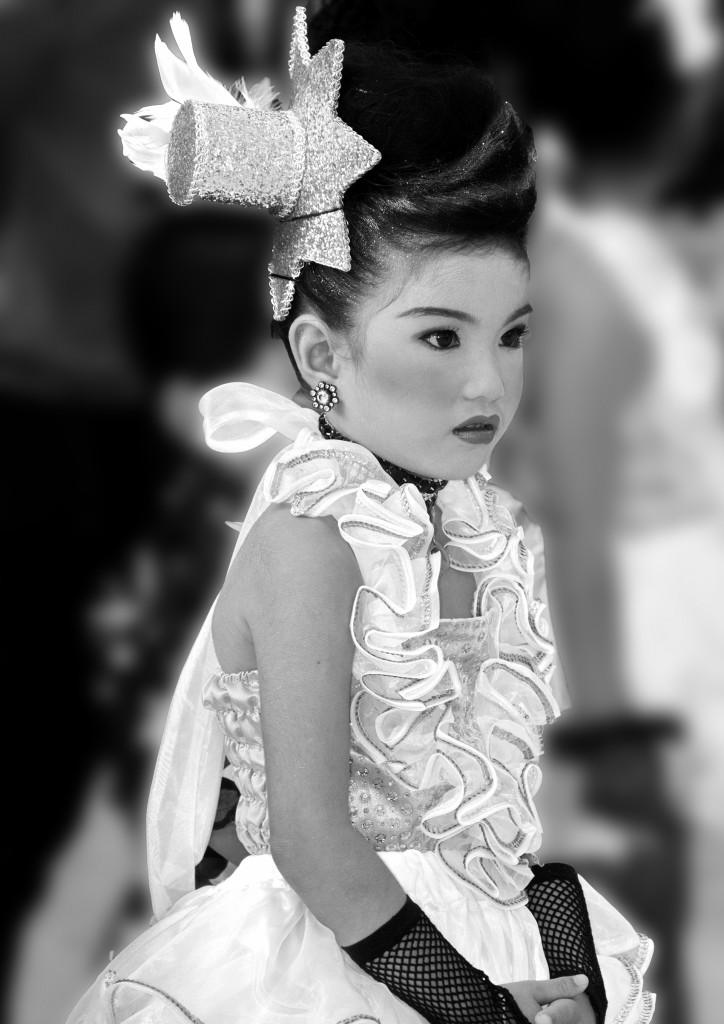
- Shoot Black and White for that timeless and artistic look
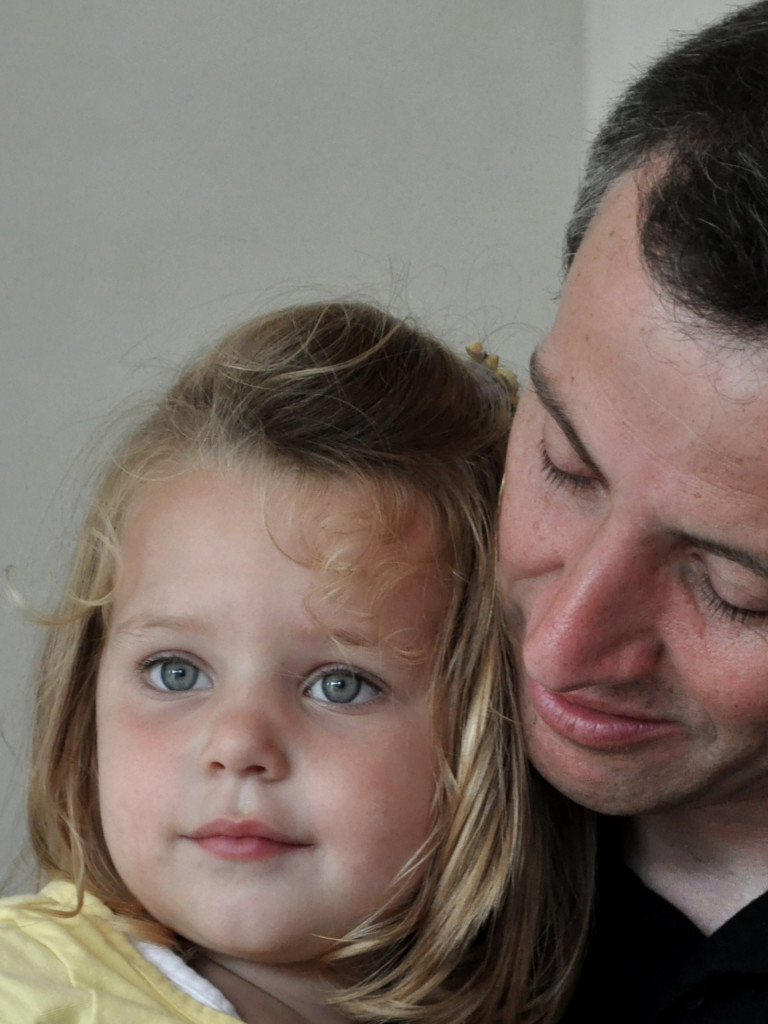
- Include other family members
- Take lots of pictures
Don’t wait for the best moment, because you might not ever see it. Take lots of pictures, change angles, act silly, take more pictures. Get closer, then get further away. Include other people. Most likely, you will have some blurry and unwanted images, but the more pictures you take, the better chance you have of taking that killer photograph.
- CAMERA SETTINGS – these basic tips are for people that are shooting with an SLR camera and don’t want to shoot in automatic, something you should avoid if you want to have more control of the outcome.
1. Aperture Priority Mode
Switch your camera into Aperture Priority mode. In this mode, you will be able to play with the depth of field by changing the aperture, letting your camera choose the right shutter speed for you. If your camera doesn’t have aperture priority mode, it might have a ‘Portrait Mode’.
2. Aperture
I recommend setting the aperture at f5.6 to start with (you can adjust it up and down as you start shooting). This will throw the background out of focus but will give you enough depth of field that the child’s face will be in focus. In low-light environments, you will probably need to set your aperture to the smallest number (depending on your lens it might be 1.4, 2.8 or 3.5) to have a reasonably fast shutter speed. Of course, shoot at higher apertures if you want to include the background in the image.
3. ISO
Depending where you are shooting and what the light is like, set your ISO to 200 (lower is better if you have lots of light). If it gets darker and the light starts depleting, increase the ISO a little. Even though the images will be a little grainy at 800, you might capture an image worth the whole photo session. Remember, it’s better to have a sharp image with more noise, than a blurry noise-free image. Then again, be careful not to get lots of pixelation with a higher ISO.
4. Shutter Speed
Try to keep the shutter speed at least 1/200th, and up to 1/500th or more if your children are running around. You might try setting your camera to ‘Sports Mode’ if you are not confident with shutter speeds and your photos are coming out blurry.
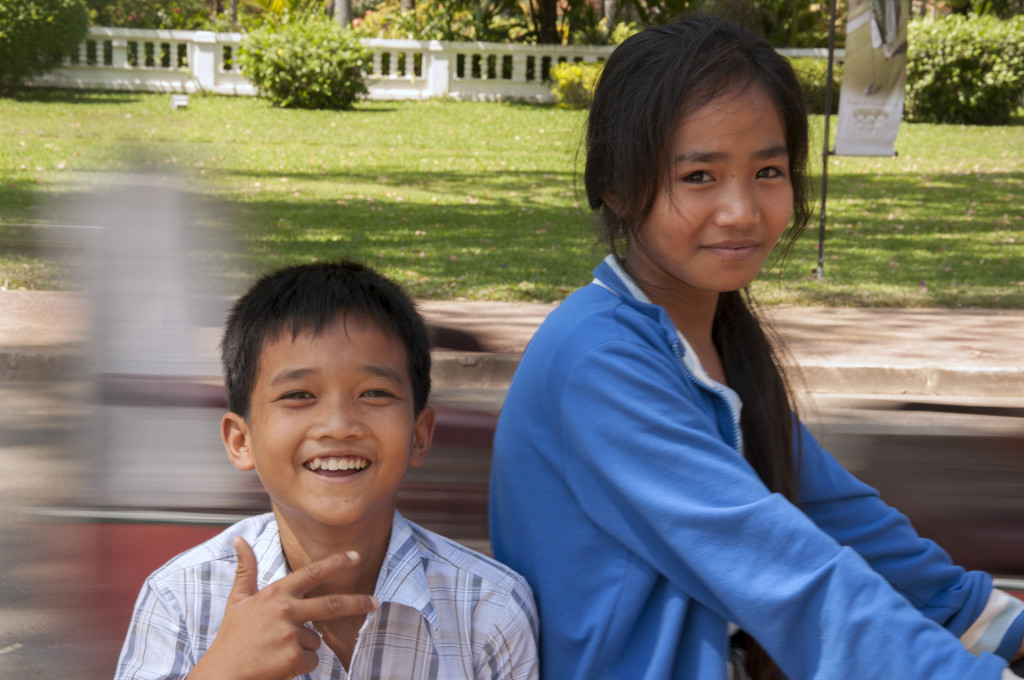
The following photo was taken in Cambodia. I wanted to photograph people in their habitat. While walking on the street, I noticed these two children riding a bike on my left who were going to be in front of me in a little while. I didn’t want blurred faces because of the movement, but I also wanted movement in the photo. No fill in flash and a shutter speed of about 1/200th focusing at the children with an aperture of 5.6 did the trick.
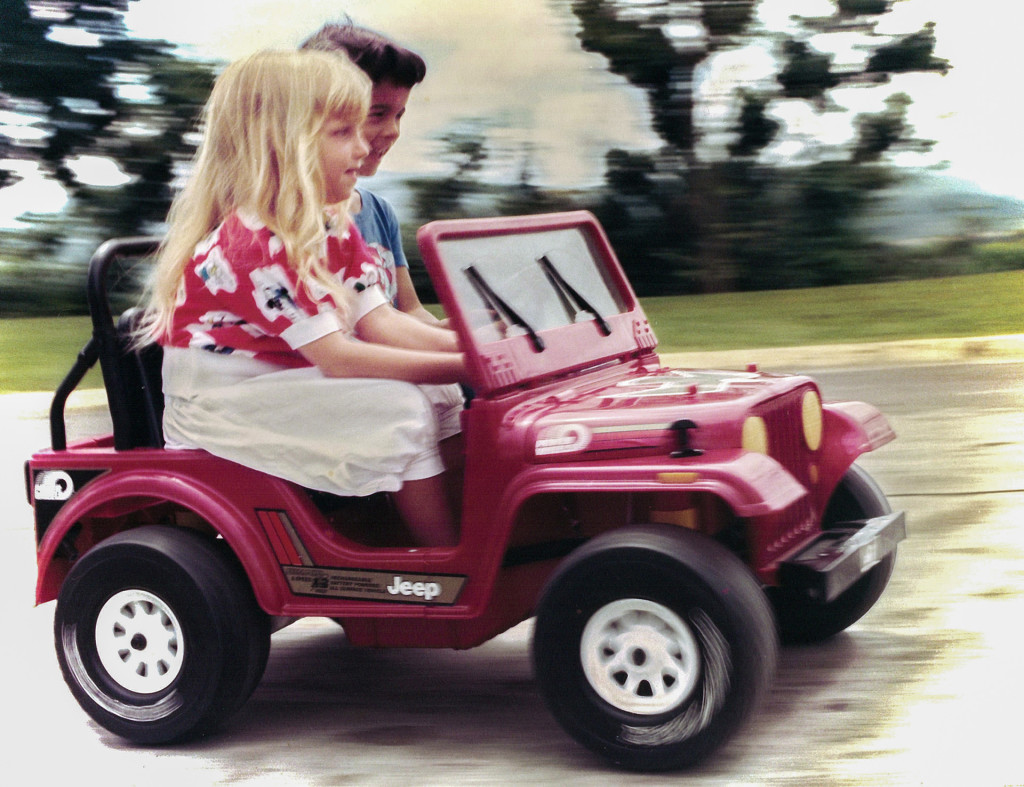
An image with a focused face and lots of movements can also be achieved. This image of my daughter riding her jeep with a friend, was taken with a Nikon FE2. Managing the shutter speed and following the subject with the camera will do the trick for you without having to do anything after you take the photo.
5. RAW
If you have the ability to work with software like Photoshop, try shooting in Raw. This will give you more flexibility to edit your shots later. But it is okay to shoot in JPEG mode also if you don’t know how to work with RAW. And don’t worry if you don’t know what I am talking about.
6. Lighting
My preferred light is natural light. But if you’re shooting into the sun, consider using your flash to give a little fill flash. You can also use it to freeze the action. If you are shooting inside and have an external flash, try bouncing it off the wall or ceiling (it needs to be white) to give indirect light, reducing those unwanted shadows.
Rules One and Two: Have a camera ready at all times and be creative. Now a days it is so easy to take photos all the time, as we take lots of photos even with our cell phones and iPads. Having a photo is better than having none. Some of them turn out good and there is always the possibility of editing them after the shooting. But of course, the better the original photo, the better the edited and final photograph.
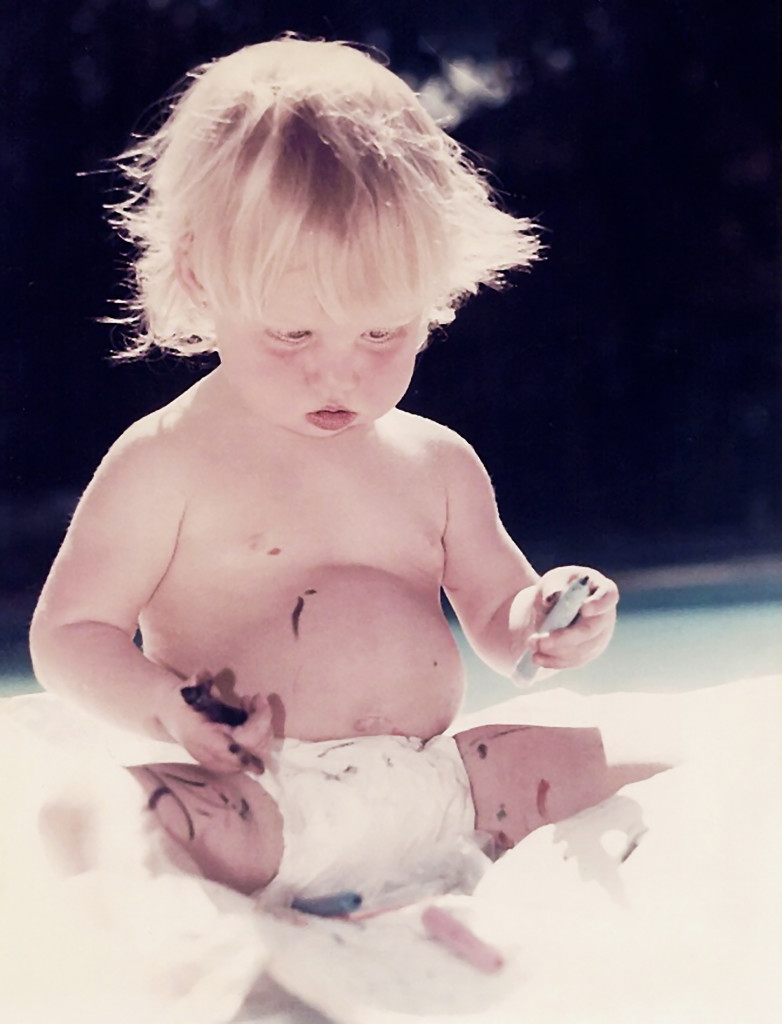
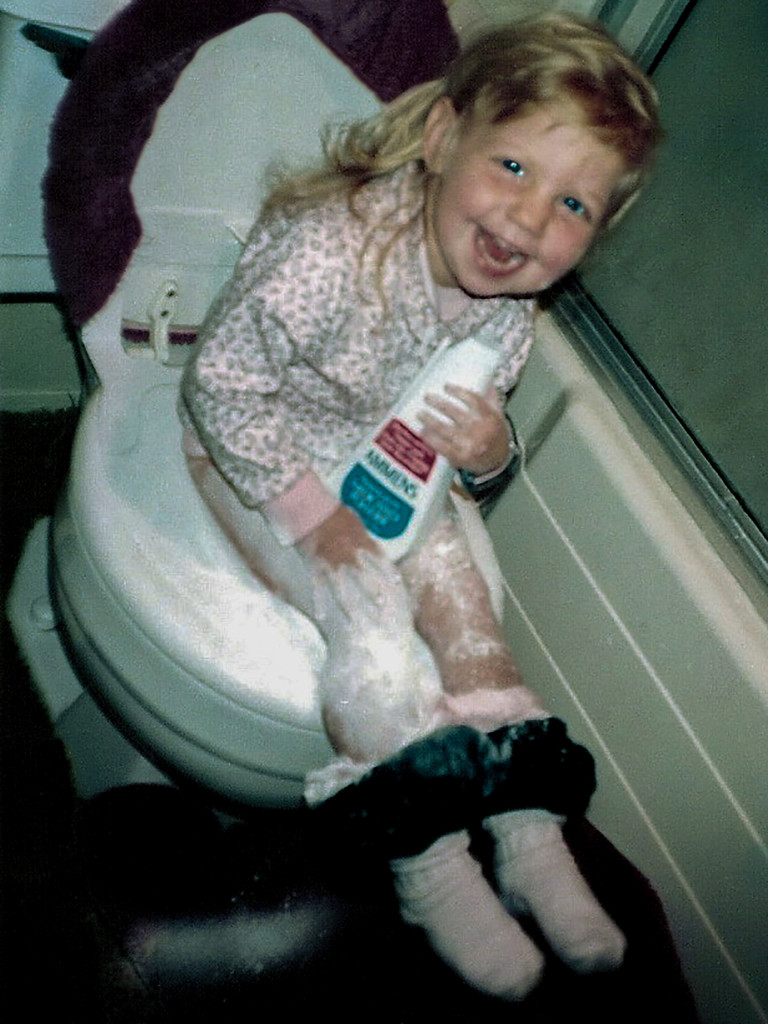
The story: I went to the bathroom and found my daughter playing with talc. Instead of getting angry, I ran for my camera (no mobile phones). I made a mistake developing the roll through a mail service which ruined the negatives and messed the photo. Nevertheless, the moment was saved, and I was able to scan and edit it. It is not the best photo, and I can even work a bit more with it. Still, I want to stress the importance of working with the best image and being prepared with the best techniques so you will preserve beautifully those special moments.
If you enjoyed this article, check out one about the golden time in photography. Next one will be on the rules of thirds*. Please write to me with any comments or questions. Subscribe to my website so you can be notified of future posts and classes. You can also contact me for private photography classes or photoshoots.
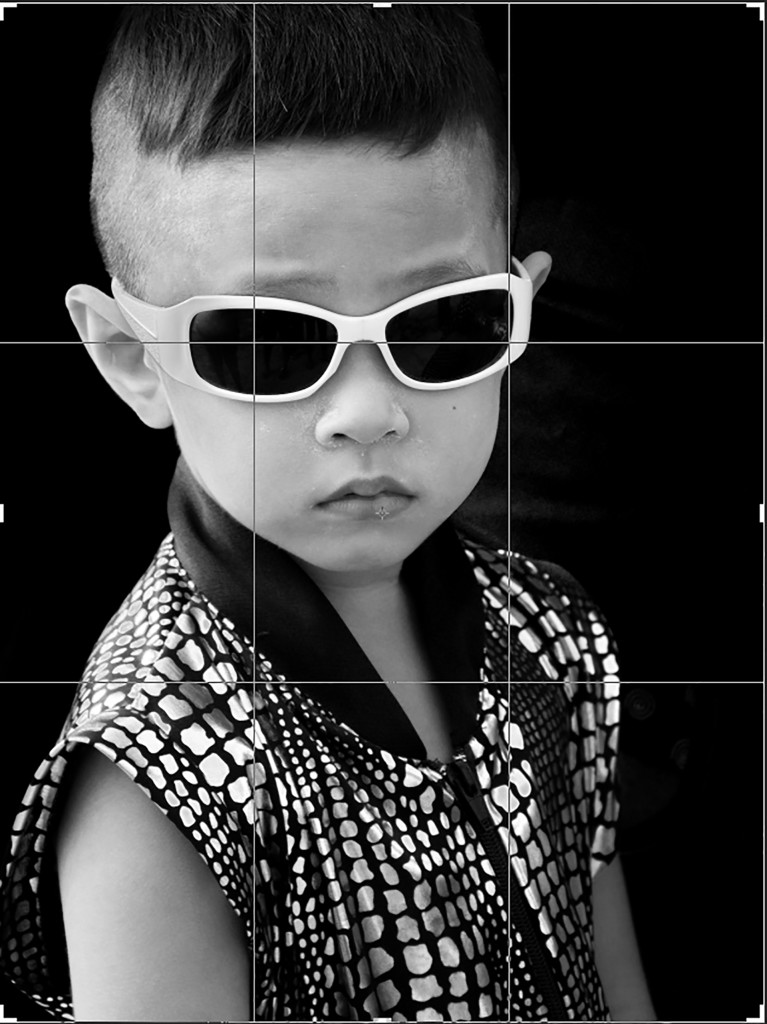
- The rule of thirds states that the prominent compositional elements in a scene should be placed along imaginary lines that break it into thirds, or at one of their intersections. In this image the sunglasses are intersected not only vertically but horizontally. Should I have placed the mouth along a boundary? Should I have placed the boy in the center of the photo? Will discuss that in the next article. Hasta pronto.
Comment
I like the article a lot and I love all Karlin’s photos..all the informations are useful and will help everyone to take better photos in general..thanks for all the excellent hints
Leave a Reply Cancel reply




Share On